The Christmas Shop

A team of flower, style and design experts and enthusiasts. We love sharing advice on all things floral and offering top tips on expressing yourself and your emotions.
A team of flower, style and design experts and enthusiasts. We love sharing advice on all things floral and offering top tips on expressing yourself and your emotions.
Our festive favourites
£50 and under gifts
.jpg?$poi-square$&fmt=auto&qlt=default&fmt.jp2.qlt=60&bg=%23FF0050&w=960&aspect=16%3A9)
.jpg?$poi-square$&fmt=auto&qlt=default&fmt.jp2.qlt=60&bg=%23FF0050&w=960&aspect=16%3A9)


Count on us this Christmas


.jpg?$poi-square$&fmt=auto&qlt=default&fmt.jp2.qlt=60&bg=rgb%28255%2C+255%2C+255%29&w=500)
Get Christmas offers & inspo
Sign up to our emails for exclusive discounts and gift inspiration.


Interflora Christmas FAQs
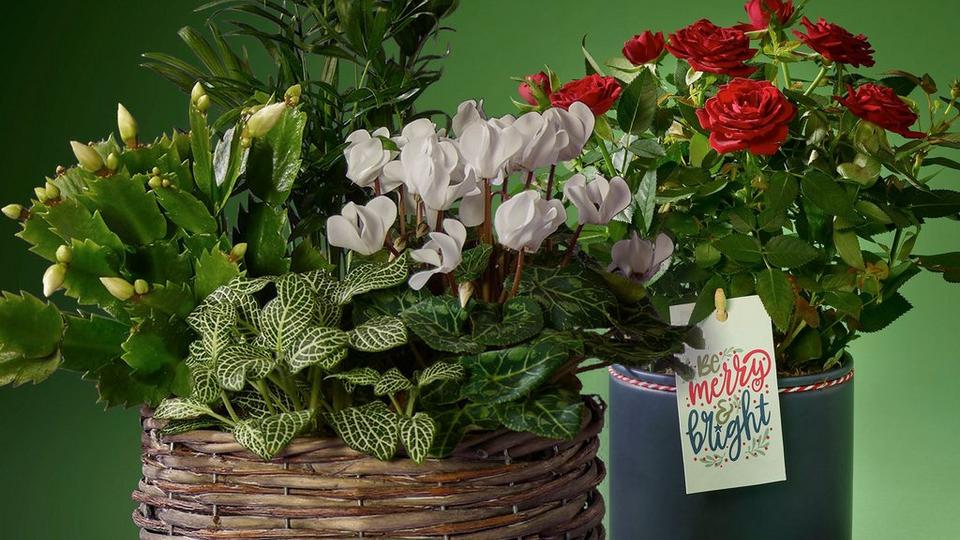
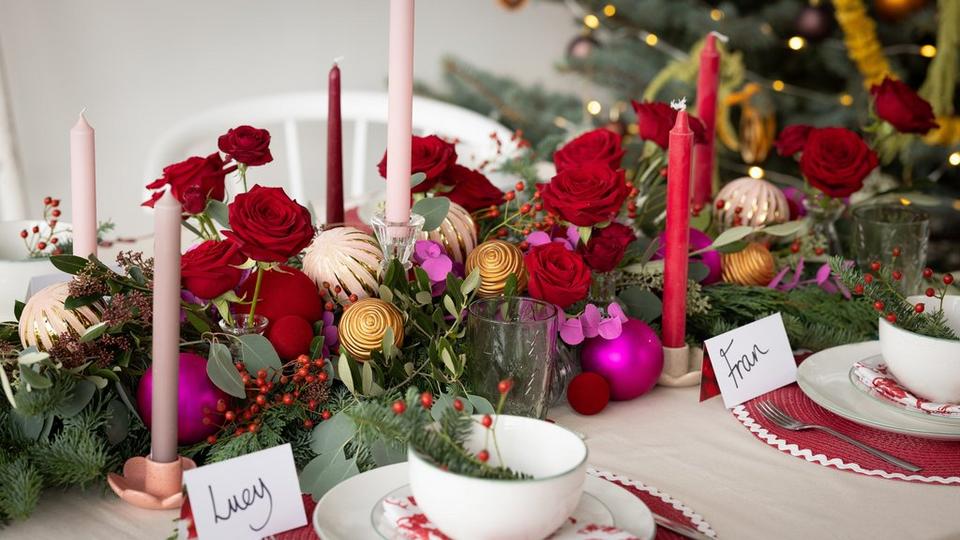
Our top picks for Christmas flower gifts include festive bouquets with winter blooms like poinsettias, holly, and red roses. However, our florists handcraft a wide range of festive bouquets to suit every style and preference.
While we don’t offer delivery on Christmas Day itself, our florists work hard to deliver your flowers from the 1st of December right up until Christmas Eve. Simply order your Christmas flower gifts by midnight for delivery the next day, or by 3pm for same day delivery.
Don’t worry if nobody’s home to receive your Christmas flower gifts. Our florists will either leave the gift with a neighbour (if permitted) or arrange a re-delivery at a convenient time. You’ll receive updates on the delivery status, so you’ll know exactly what’s happening every step of the way.
To make sure your Christmas flower gifts stay fresh throughout the festive season, follow these simple care tips:
Flowers: Keep them in a cool, dry place and change the water regularly. Trim the stems at an angle every few days to help them absorb water.
Wreaths: Hang them in a cool, dry area away from direct sunlight and heat. Mist occasionally to keep them nice and fresh.
Plants: Keep them in a well-lit spot and add a little water when the soil feels dry. Avoid overwatering, as too much can cause the roots to rot.
Yes! We offer a range of hampers filled with gourmet treats and festive goodies. You can add a personal touch with a handwritten message and choose from a variety of hamper themes, from chocolates, cheeses, and mulled wine to festive fizz and vegan treats.
Each arrangement is handcrafted by a local florist using fresh, seasonal flowers. Our florists are passionate about creating something beautiful and personal, making every gift a heartfelt expression of festive love and joy.